Mostrando entradas con la etiqueta diy. Mostrar todas las entradas

viernes, 25 de enero de 2013

Tutorial!


Hooooray! First tutorial in months!
Today I bring a very very fun DiY, very actual too, because I've seen in lots of stores Galaxy patterns in clothes such as leggins, trousers or even pullovers!
So we're gonna do the same, but with a pair of fabric shoes...

I have to say that this project costs under 10€! 
I bet if Darth Vader knew how to make them, he would have never wore that black thing hehehe.

Okay, let's get started!

Materials
1) A pair of shoes... Mine's are form Primark, and they cost 3€/pair
(It's better a dark colour, such as black or dark blue)


2) Acrylic paintings

3) Sponges and a tooth brush (not yours, of course!)

4) And tape! To cover the bottom of the shoes (if you want it white)

We got it!
Now, I inspired myself from this video here:


Check it out because it's a great tutorial.

Okay, let's start!

Steps:
1) Tape the bottom of your shoe
(I had to use this cute tape because I didn't find the other one u_u)

2) Use your imagination: Combine blue, black and purple in order to pain the background, you can make cloudy areas with brighter colour adding a little white. My photos are not very good, anyway i post them:


3)When you feel happy with your background, let it dry a few minutes. After that, use a small sponge to make "big stars" (not to big of course hahaha)
With the tooth brush, you have to make it seem like there are millions of stars, but how?
It's simple, just make splatters shaking the toothbrush against the shoe... Take care with the quantity of painting you use!


Let it dry... And that's all! You have a cool pair of galaxy shoes for under 10€!


Have fuun!!!

domingo, 21 de octubre de 2012

Messy weekend!


This weekend has been really busy, much more than I expected!
On Saturday I spent all day on the mountain climbing ... It was so much fun!
So here yesterday I had time to prepare any tutorial, and today either, because I was visiting my grandmother who is a little sick: (
And being at home I had a surprise prepared ...

But ... what is that box?
CHAAAN CHAAAAAN

Her sewing machineee :3 :3 
I'm so glad she borrowed it to me
Will like fifty years, and is the sewing machine which my grandmother has sewn with hundreds of fabrics, clothes, blankets and a thousand things to all my family, so I have to keep the bar high ^ ^

Now I have to learn how to use it :3
I have pair of projects that I couldn't make, now is the TIME !


I hope this week is a bit calmer, get a camera and give me time to take some pictures and post some tutorial ... And further explore blogger!

Love! XOXO


viernes, 12 de octubre de 2012

PacMan Lovers, That's 4 you!

Cool! My first tutorial ^^I couldn't be happier !!
This one is a very simple, and fun project, and I bet you'll use it more than you expect to at the beginning :D
There exist a lot of funny stuff with this hamma beads, you just design what you want, a little heat with the iron and that's all! You have it !!
Okay, let's start :)
Material:

And for the necklace itself:


LET'S GO·····
1- We are going to start with our yellow friend. The first thing you have to do is choose the appropriate mold. I chose the rounded one because we are doing a small version of Pac-Man, but if you want it bigger, is better a square.
And it's simple, start placing yellow beads around the central one. Leave one place to put a black bead like a small eye, and we have it, YAY!


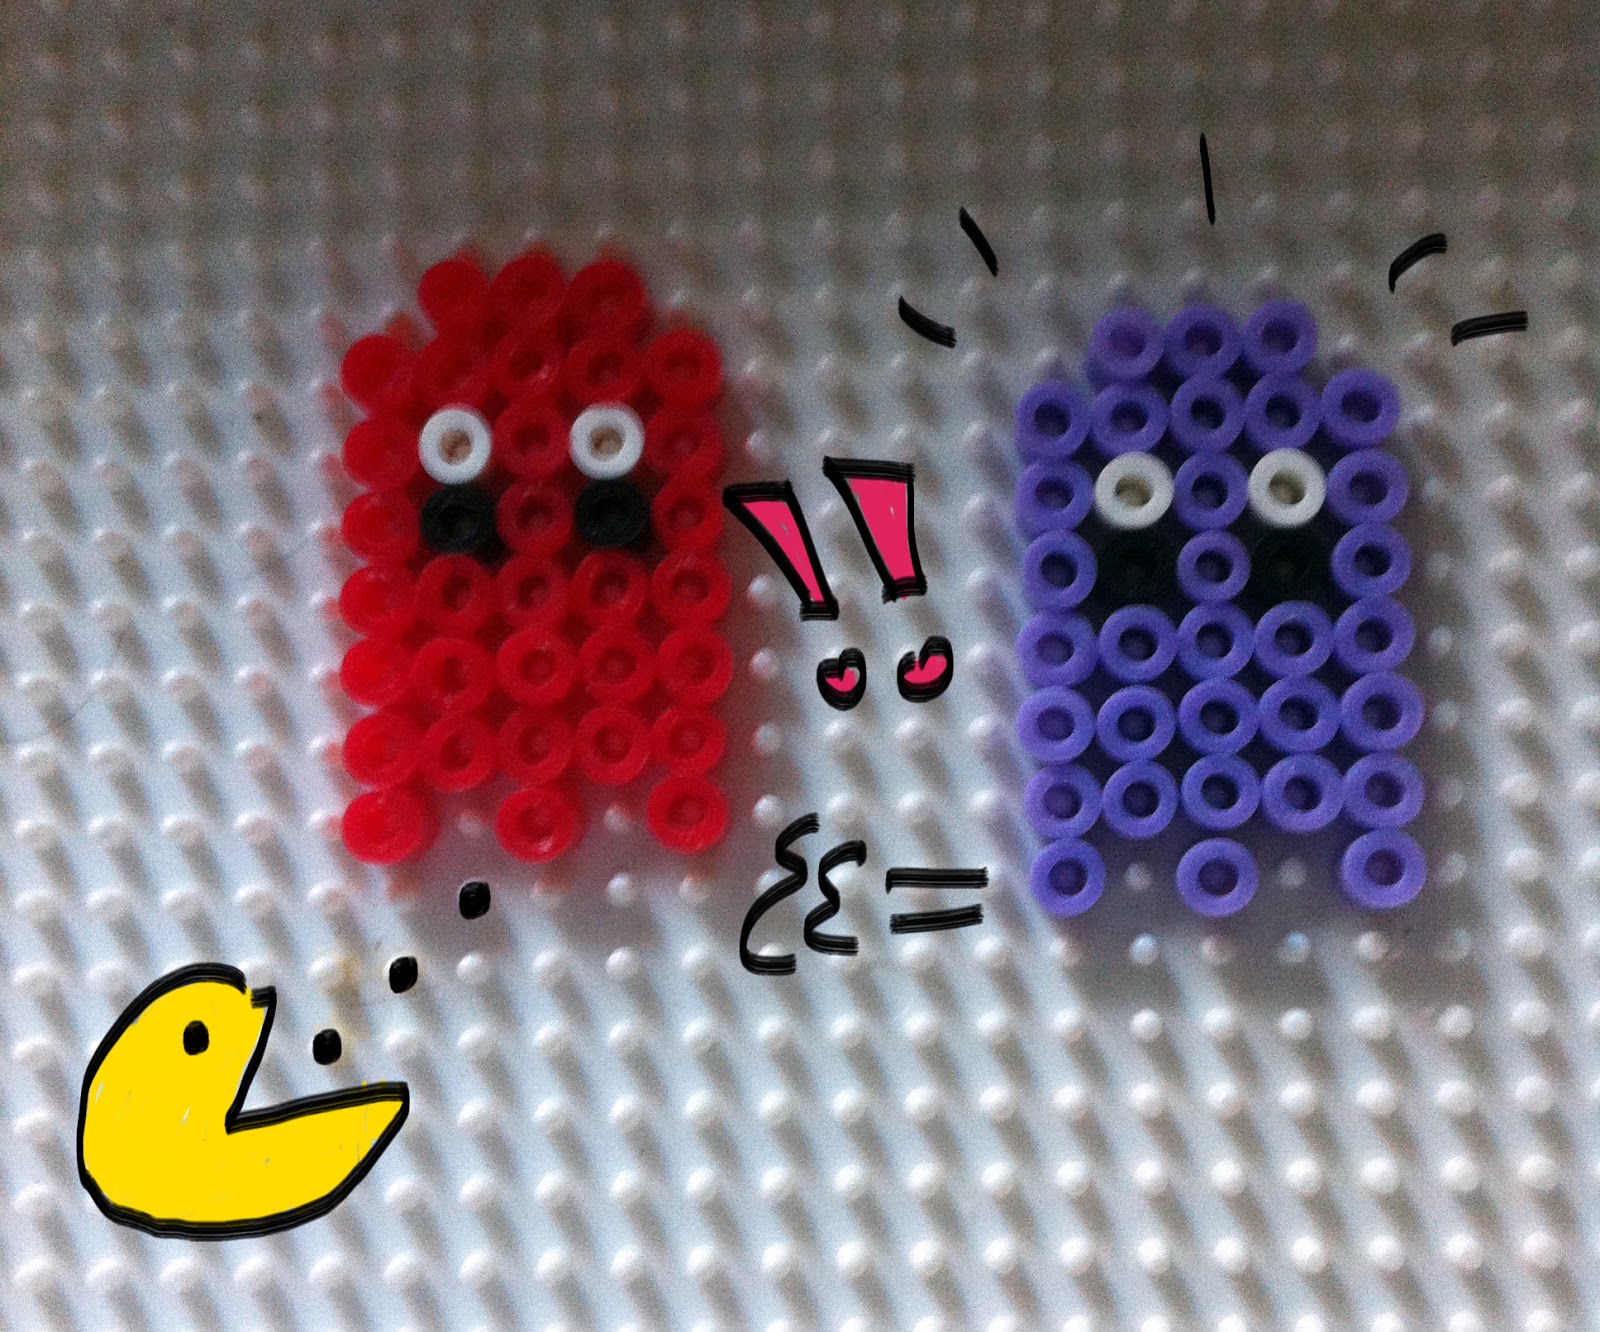
2- Little Ghosts ! It's the same method, but in a squared mold. I will show you the big and the small version of the same ghost, one for the necklace and the other for whatever you imagine!


3- Now it's ironing time. Maybe you don't catch on the firs time (you will melt it or not even cook it!), but everything is practicing! And you'll discover how simple is after all.
Place the heat paper on top of your ghosts. Be sure you have covered ALL parts of the ghosts, if you don't want to buy a new iron >.<
Press it and move the iron around your ghosts (be careful not to press it in the mold, or it will melt and it'll be useless)
After a few seconds,the beads will have stuck to the paper and will be ready!
CHAN CHAAAN!
WAIT A MOMENT! What if this happens to you:


Don't panic! Just place the figure in the mold again, fitting it with the missed beads, and iron again!
Another tip! You'll find two sides in your creations, the ironed one and the "Original". Choose the one you like the most, I prefer...


The other ghosts are exactly the same, i'll show you them before continuing!


Oookay, once we've got all the ghosts and PacMan ironed, it's time to put them together in a chain :3


After Maya intermission hehehe, comes the easiest part of the DiY
First of all, design how do you want the necklace to be, I chose mine like this:

1- Round a little portion of wire, and insert it in the chain and in a hole of the figures
And that's all!!! You are ready to flaunt with your super-freak necklace!!!

Hey! But what happened to our greenbighost??
Here is him! Becoming into a funny keychain!
Hope you have enjoyed this tutorial as I did!

Have fun! XOXO